
Vac Was Unable To Verify Your Game Session Fix CSGO YouTube
VAC was unable to verify your session : r/cs2 r/cs2 r/cs2 • 7 mo. ago Direct-Aspect5520 VAC was unable to verify your session Help I get VAC error when trying to search a match in both games CS2 and CSGO, yesterday i was playing normal but now i can't. Anyone knows a solution? I already verify the files and restarted Steam Client. 0 15 Share
How To Fix ‘VAC Unable To Verify Your Game Session’ Error In CSGO Plato Data Intelligence
Simply Restarting Counter Strike 2 could get you past the "unable to verify game session" message. Quit the game, return to the Steam App, and start the game again. Cross your fingers. Restart Your Computer After trying the above, restart your computer. Don't turn it off. Restarting your rig has more benefits than completely turning it off.

VAC Was Unable to Verify Your Game Session CS GO FIX 2020 100 Working YouTube
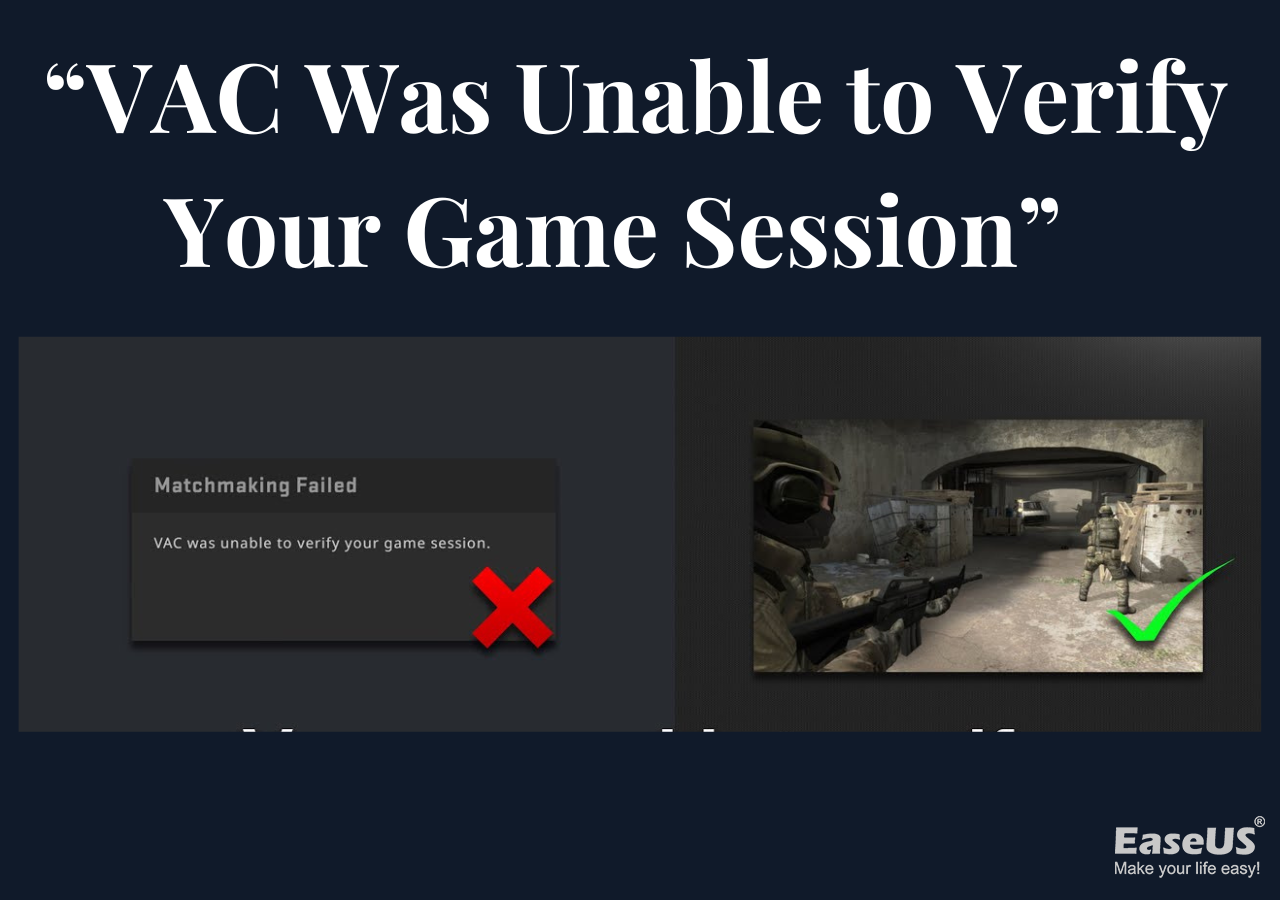
The "VAC was unable to verify your game session" error typically occurs when your game files are not installed correctly, causing confusion in the Valve Anti-Cheat (VAC) system. This error means that the VAC system has detected that your game files do not match up how they should.
10 Ways to Fix VAC Was Unable To Verify the Game Session
Here is how you can verify your game files via Steam. Open 'Steam', click on 'Library' present on the tool bar above. Search for the game 'CS:GO' and right-click on the game title. Then click on 'Properties'. Under 'Properties' click on the 'Local Files' tab present on top, and then click on 'Verify Integrity Of Game.
How to fix VAC was unable to verify your game session!(WORKING) YouTube
Click ' Installed Files ' Press ' Verify integrity of games files ' Load the game back up once the process is complete Reinstall Counter-Strike 2 Another simple fix is to just uninstall CS2 and then reinstall it on your PC. This will completely refresh all the files, meaning whatever was causing your VAC error will be solved. Update your drivers

How To Fix VAC Was Unable To Verify Your Game Session In CS2 YouTube
Click on 'Steam' located in the top left corner of your screen. Then, click on 'Settings.' Under the 'Account' tab, you'll find your 'VAC status.' If your VAC status shows that you've been banned, it means you've violated the rules, and you won't be able to play CS2 online with that account. Table of Contents Sync Your PC Date & Time

FIX CSGO VAC WAS UNABLE TO VERIFY YOUR GAME SESSION 2022 Fix CSGO Matchmaking Failed Error
After closing Steam, hold the Windows key on your keyboard and press R. In the small window that will appear, type in " cmd " and hit enter. Type in the following command in the Command Prompt and hit Enter: "C:\Program Files (x86)\Steam\bin\SteamService.exe" /repair. Give it some time and see if it works afterward.
How to EASILY Fix VAC Was Unable to Verify Your Game Session [2021] Forever Alone
Unorthodox fixes. There have been a couple of reports on Reddit of some unusual means of fixing the VAC error, here are some of those fixes: Change your Steam name. Use task manager to force quit Steam and re-launch it. Restart Steam and run as admin. Change your profile picture. Try a bot game first.
CSGO "VAC Was Unable to Verify Your Game Session" EaseUS
Here's a step-by-step guide on how to fix the VAC that was unable to verify the game session error: 1. Restart Counter-Strike 2. 2. Verify the integrity of game files. To do that, go to Steam> Library> Counter-Strike: Global Offensive> Properties> Installed Files> Verify Integrity of Game Files. credit: valve. 3.

[Solved] VAC Error Code Unable to Verify Game Session
An issue that can cause the VAC unable to verify error is a problem with system permissions. To avoid any difficulties here, you should try running CS:GO or CS2 as administrator. To do.

How to Fix VAC was Unable to Verify your Game Session on CSGO
Step 1: Verify CS2 Game Files Integrity To begin, launch your Steam application and navigate to the game library. Here, locate and select CS2. Right-click on it to delve into its properties. On the left pane, you'll find the 'Installed Files' tab — click on it. CS2 Properties > Installed Files > Verify Integrity of game files
How to Fix VAC Was Unable to Verify the Game Session Malware Journal
According to several Redditors, the most common fix for "CS:GO VAC was unable to verify your game session" problem is to update your Steam Client. Open your Steam application. Click on the Steam section from the main bar. Under that section, look for the Check for Steam Client Updates option. Steam will look for updates.

VAC Was Unable To Verify Your Game Session CSGO FIX (2023) YouTube
In light of this, the error message "VAC was unable to verify your game session" means that VAC, an anti-cheat program, was unable to verify your game session because it detected some tempering in your game files or detected a third-party program or script that attempted to alter the game processing.
How to Fix 'VAC Was Unable to Verify Your Game Session' Error
To do this: close Steam, run Steam as administrator (right click > "Run as administrator"), then opening CS:GO as administrator (right click > "Run as administrator"). Fix #1, which is outlined below, works for about 95% of people, so chances are it will work and solve your error.
VAC was unable to verify your game session How To Fix
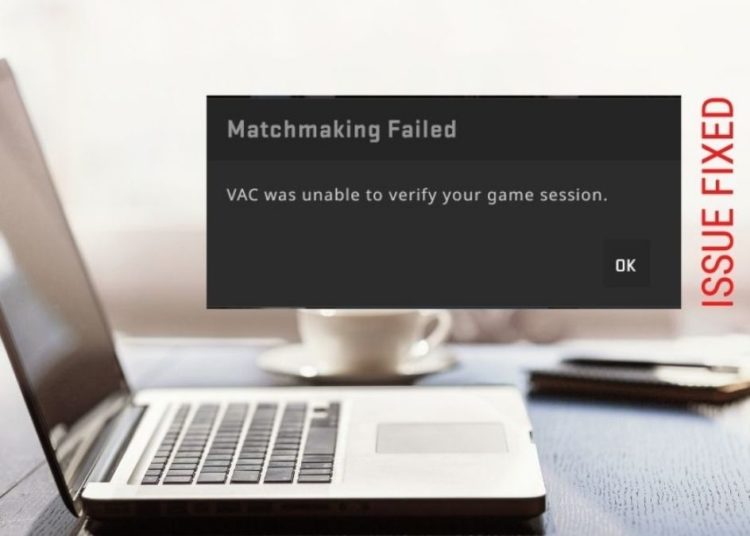
1. Quick Fixes 2. Run Steam (and the Game) as Administrator 3. Disable Your Antivirus Software 4. Verify the Integrity of Your Game Files 5. Repair the Steam Library Folder 6. Repair the Steam Service 7. Reinstall Your Steam Game (or Steam Itself) Back to the Game What Does "VAC Was Unable to Verify Your Game Session" Mean?

VAC Was Unable to Verify Your Game Session iStar.Tips
Restart your PC completely and try again. Sometimes temp files can cause verification problems, and restarting clears them. Verify the integrity of your game files - to do this, go to your steam library, find the CS:GO entry and right-click on it. Click on the last option in the menu, 'Properties' and then 'Local Files' at the top.